Creating Shop Efficiency by Building a Mobile Dust Collection Cart
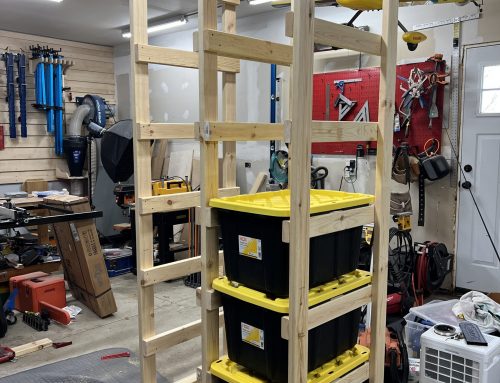
It's been a very long time coming that I needed to get some better dust collection in my workshop, not only for the obvious safety reason of removing as much saw dust form the air as possible but also from my own mental health standpoint of dragging around a shop vacuum connected to a dust separator and having hoses twist, separators fall and spill everywhere, and walking back and forth to the vacuum to turn it on and off every time I use a power tool. In this video below I go through every step in detail to build yourself a dust collection cart and hopefully make you laugh along the way.
Mobility…Storage…Automation. What Else Do You Need?
I wanted a solution that would add efficiency to my shop but also needed some additional functionality which I was missing.
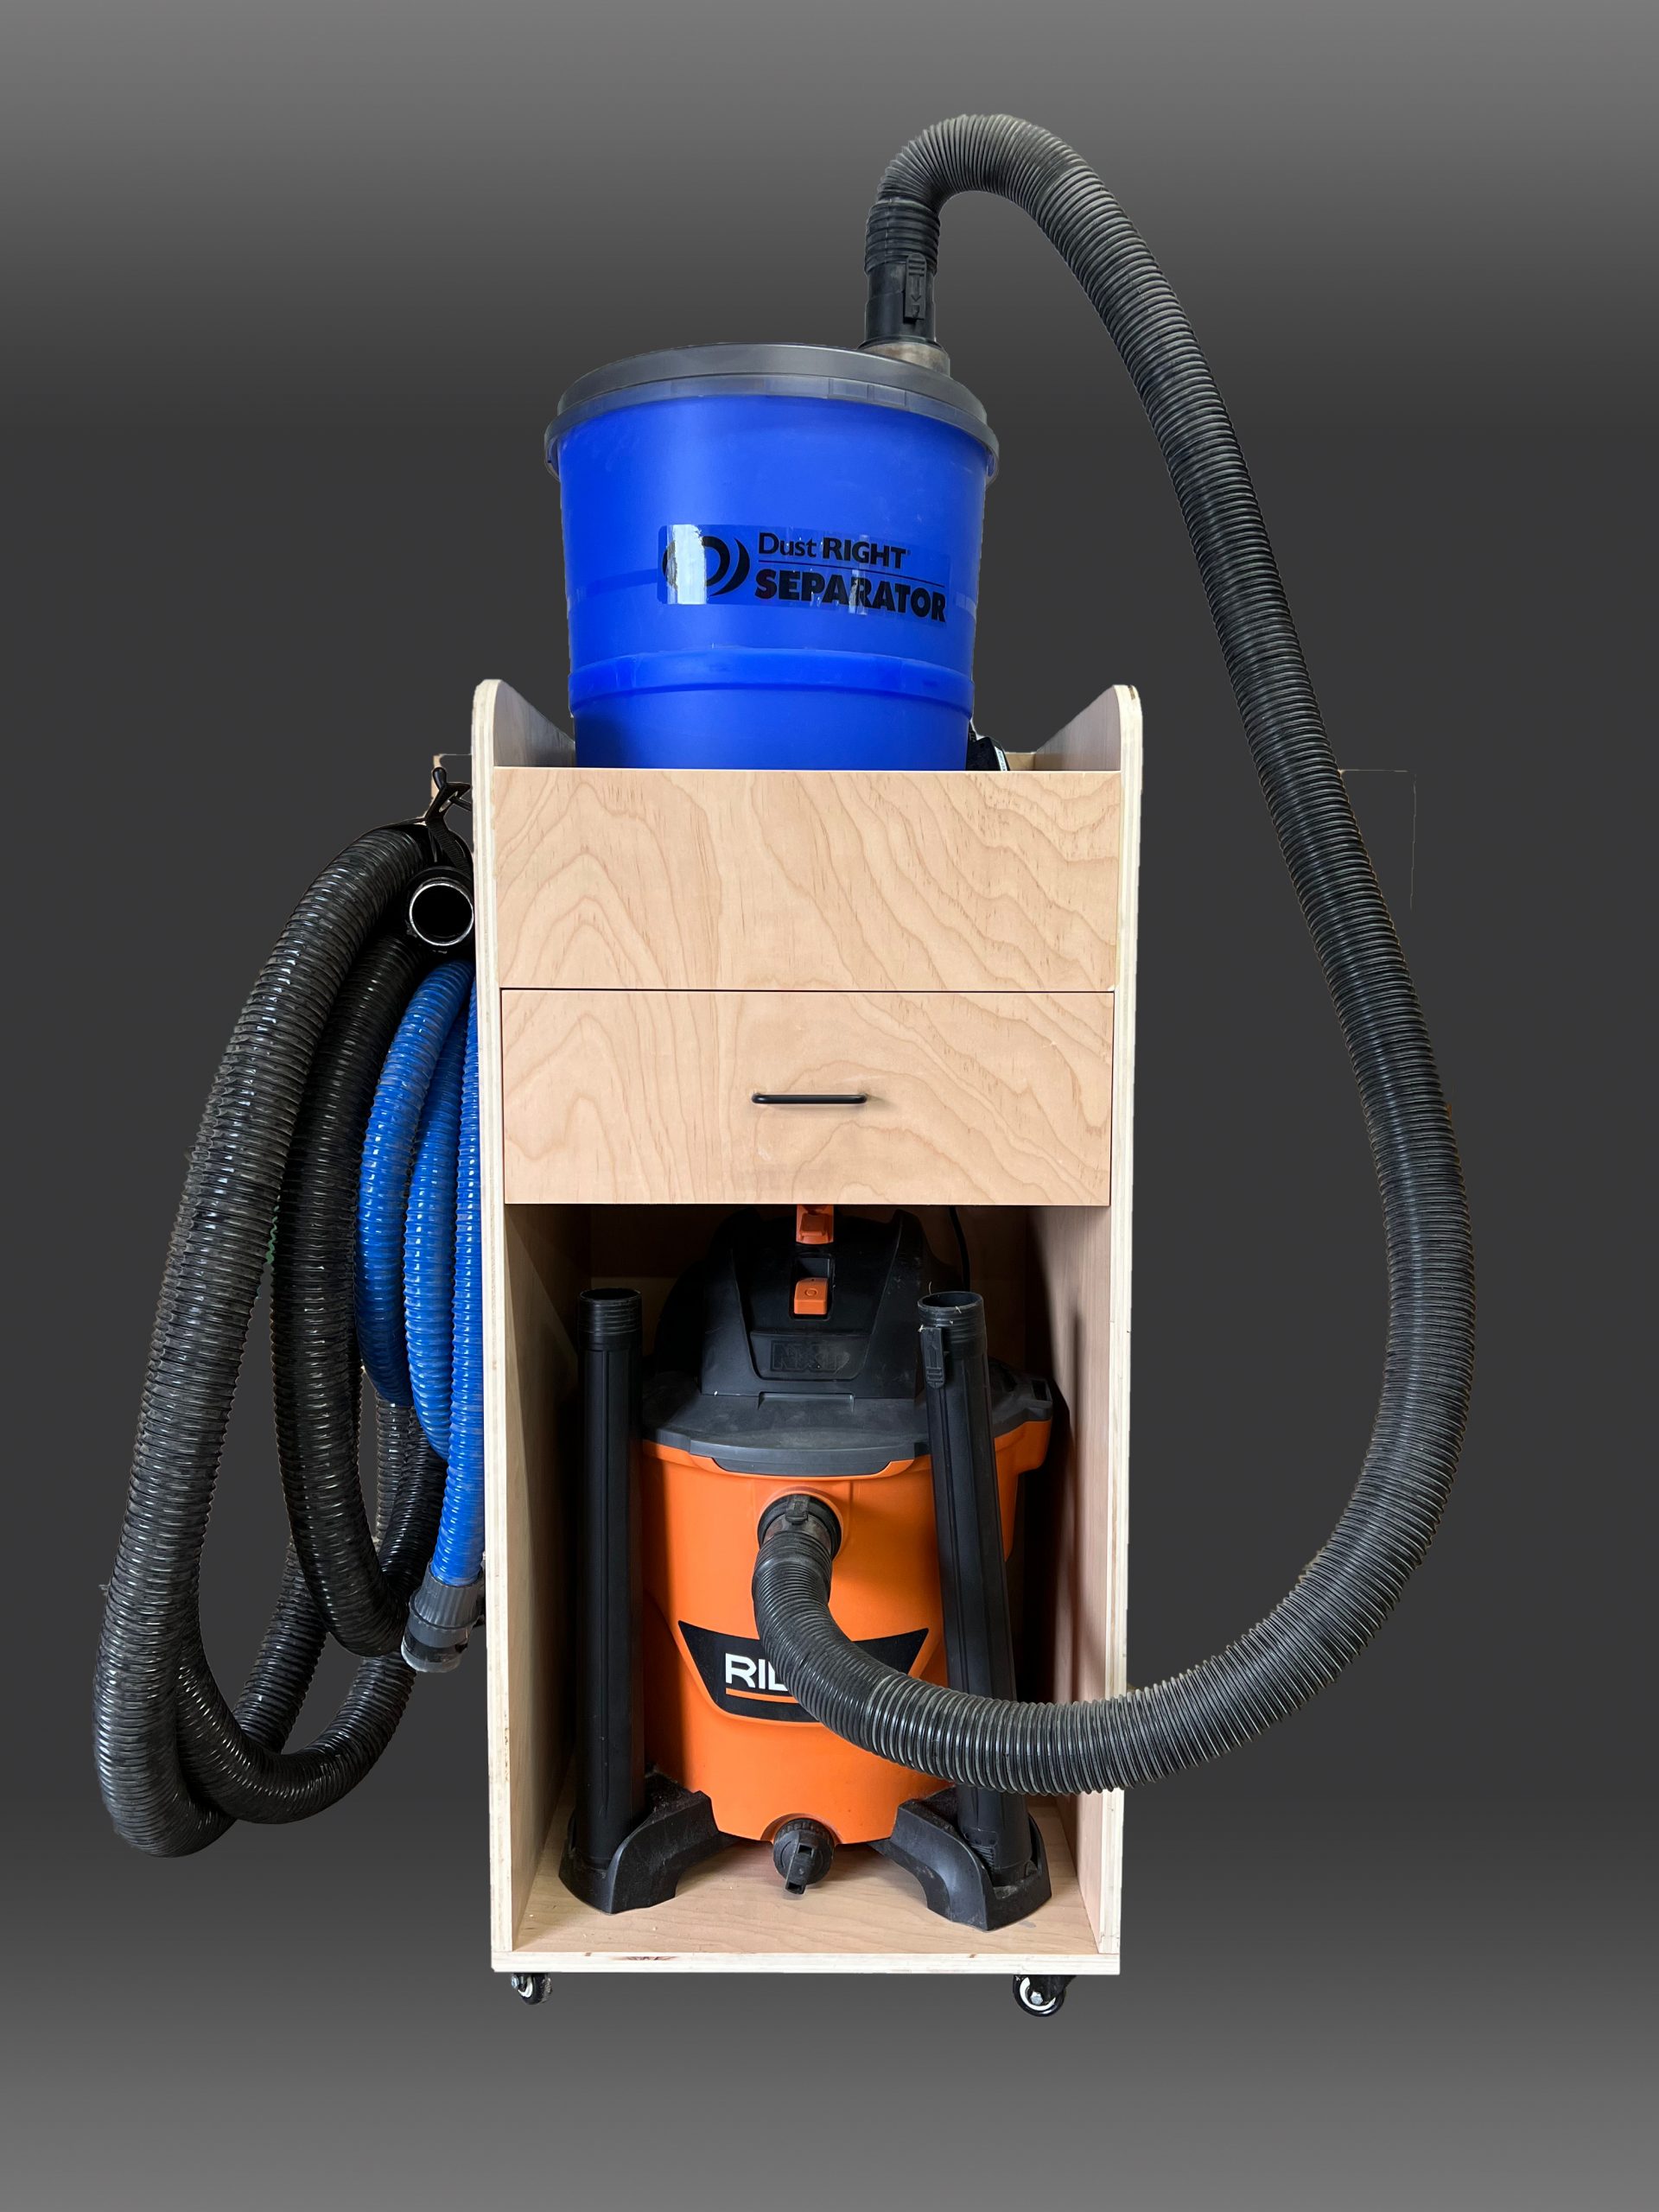
First, I desperately needed a better way to move both the Dust Separator and the Shop Vacuum around the shop without feeling like I was pulling around a long train of stuff that would get tangled up with other tools or fall over when they roll over the concrete expansion joints or extension cords (or all of the other junk I sometimes have laying around my workshop). I designed the cart so the vacuum and dust separator were stacked and moved as a single unit with a set of 4 heavy duty casters as the foundation. It also needed to be sturdy so it wouldn't topple over when pushing the cart around or pulling too hard on the dust collection hose.

Second, I have yet to meet a woodworker that didn't get frustrated with all of the attachments and different hose adaptors that accumulate in the shop. That's why I designed the cart with a storage drawer that was big enough to load up with all of the fittings, filters, adaptors, remote control fobs, that I could find. Everything is now in a single location easily accessible when I need an adaptor to hook up my 2.5 inch dust collection hose to my sanders' 1 inch port after pulling it directly off my table saws 4 inch dust port.
Third, I wanted to limit walking back and forth to my vacuum to turn it on and off every time I turned a power tool on or off. This may not help me reach my 10,000 per day step goal but it certainly helps me keep moving forward to completing my projects in less time. My answer to this is twofold.
- I installed a vacuum automation switch which automatically turns on/off the vacuum when the power tool (which is plugged into the automation box) is powered on or off. This is a game changer if you don't have one of these, you'll wish you bought one sooner. I also added a heavy duty power block with 4 outlets which allows me to have 4 power tools plugged into the vacuum automation switch so I don't have to keep plugging and unplugging as I move to the next power tool in my workflow.
- Realizing I don't always need to have a power tool but do need to use the vacuum, I added a remote controlled outlet to my cart. This allows me to turn the vacuum on and off from 50+ feet away like when I'm cleaning out a car or vacuuming the street (I don't really vacuum the street but I can if I want to).
There's not much more to say about how useful this addition has been for me. Watch the video (subscribing to my YouTube channel would be a massive compliment if you enjoy the video), have a few laughs at my expense, and if you're interested in building one for yourself, a link to the plans are available below.
Tools and Products Used In This Project
The below links are Amazon affiliate links. As an Amazon affiliate I earn small commissions from qualifying purchases at no additional cost to you.
Other Products I Support and Am Affiliated With
The best and most comfortable work boots I've ever worn (Use discount code DELLSDIY for 12% of your entire order)
Fusion 360 3D Modeling Software (20% discount by using link, no discount code required)